Last update:
I like to say that continuous delivery or CD is the most important part of Cloud Native. There are so much great tools out there and you need to pick up the right ones. A few weeks ago I was writing almost about the same topic, only with Jenkins. While the Jenkins is the most used CI/CD tool, not every team is happy with it. Jenkins has a huge number of plugins and the great set of features, but it always seems old. It is heavy and not built with containers in mind. A few days ago I read about the new Jenkins X introduction, so we will see some changes in the future. With Drone, the containers are the first class citizens. In this post, I will go through installation on Kubernetes and explain the simple pipeline. Later, you can compare how the Drone pipeline is different from the pipeline I did with Jenkins.
Previous blog post
Just blogged: Using Existing @Ceph Cluster for #Kubernetes Persistent Storage https://t.co/JTsGY58J0h
— Alen Komljen (@alenkomljen) March 14, 2018
Deploy Drone on Kubernetes
Lucky me, there is the Drone Helm chart available. It is not in the stable repository, but that is ok. Before deployment, there are a few things that are specific about Drone. Drone connects with version control system and you can't start it without configuring one. I will setup GitHub repository and register the new OAuth application. You should have something like this:
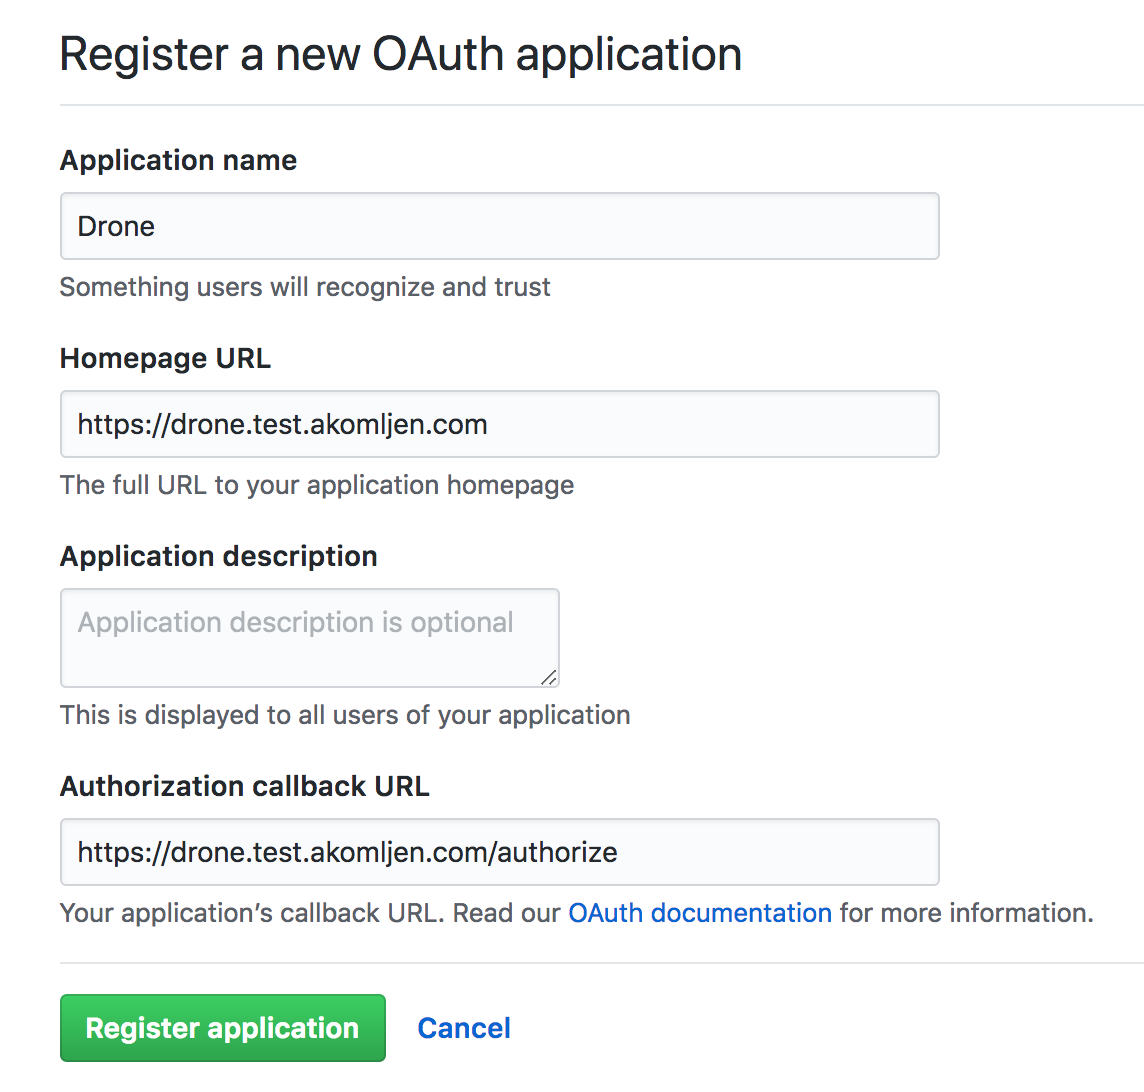
You will get your Client ID and Secret which you need use to configure Drone. Based on official Drone chart I will create a custom configuration file drone.yaml to override default values. Replace domain name and other info to match with your environment:
ingress:
  enabled: true
  annotations:
    kubernetes.io/ingress.class: nginx
    kubernetes.io/tls-acme: 'true'
  hosts:
    - drone.test.akomljen.com
  tls:
    - secretName: drone-tls
      hosts:
        - drone.test.akomljen.com

server:
  host: "https://drone.test.akomljen.com"
  env:
    DRONE_ADMIN: komljen
    DRONE_PROVIDER: "github"
    DRONE_OPEN: "true"
    DRONE_GITHUB: "true"
    DRONE_GITHUB_CLIENT: "CLIENT_ID"
    DRONE_GITHUB_SECRET: "CLIENT_SECRET"
Let's add incubator repo and install Drone components from there. Use a custom configuration file you created:
⚡ helm repo add \
     incubator https://kubernetes-charts-incubator.storage.googleapis.com

⚡ helm install --name drone \
     --namespace drone \
     -f drone.yaml \
     incubator/drone

⚡ kubectl get pods -n drone
NAME                                  READY     STATUS    RESTARTS   AGE
drone-drone-agent-6847ddc7dc-q4jqx    2/2       Running   0          1m
drone-drone-server-7fdcffd964-kt6xs   1/1       Running   0          1m
Wait a few minutes and your Drone apps should be ready. Authorize your GitHub repository through web UI and you are ready to go.
Creating and Understanding Pipeline
One thing that I like about Drone is that plugins are also containers. That means you don't need to install plugins on Drone itself. You include them in the pipeline and they will work on any Drone server. This is the full list of plugins available. Writing your own plugins is easy and I will show that later in this post. The plugin list is not that huge compared to Jenkins. Jenkins has 1000+ plugins available, but that doesn't mean Drone lacks so many features. It is different for sure. This is the pipeline I created for this blog post:
pipeline:
  build:
    image: gradle:4.5.1-jdk9
    commands: gradle --help
  docker:
    image: plugins/docker
    secrets: [ docker_username, docker_password ]
    repo: komljen/test-image
    tags: ${DRONE_COMMIT_SHA}
  kubectl:
    image: komljen/drone-kubectl-helm
    secrets: [ kubernetes_server, kubernetes_cert, kubernetes_token ]
    kubectl: "get pods"
  helm:
    image: komljen/drone-kubectl-helm
    secrets: [ kubernetes_server, kubernetes_cert, kubernetes_token ]
    helm: list
  notify:
    image: plugins/slack
    channel: drone-notification
    secrets: [ slack_webhook ]
This pipeline is available in the repo also. This is not the real project and I created it to show you different steps. For more features please check official docs. Let's see some specific details about it.
Managing Secrets
To manage secrets with Drone you can use the web UI or you can install the Drone CLI tool. I prefer CLI tool because it has more options available and you can do a lot of other things actually. If you are running MacOS the easiest way to install it is with brew:
⚡ brew tap drone/drone
⚡ brew install drone
Then you need to connect CLI tool to the Drone server. Find the user token on web UI https://<drone-server-url>/account/token, export environment variables and check the connection to the server:
⚡ export DRONE_SERVER=https://drone.test.akomljen.com
⚡ export DRONE_TOKEN=eyJhbGciOiJIUzI1NiIsInR5cCI6IkpXVCJ9.eyJ0ZXh0Ijoia29tbGplbiIsInR5cGUiOiJ1c2VyIn0.1GRLOtmCyNnvfGGCC6_iUBFgyoeSadk5TiOoj5Yk-pY

⚡ drone info
User: komljen
Email: [email protected]
If everything works fine go ahead and add some secrets. The secrets are not global, so you need to add them per repository. Global secrets are an enterprise feature. I don't like that. Let's set the secrets for Docker first:
⚡ drone secret add \
     -repository <username>/<repository> \
     -name docker_password -value "<dockerhub-password>"
⚡ drone secret add \
     -repository <username>/<repository> \
     -name docker_username -value "<dockerhub-user>"
And also add secrets for kubectl and helm:
⚡ drone secret add \
     -repository <username>/<repository> \
     -name kubernetes_server -value "<kubernetes-server-url>"

⚡ drone secret add \
     -repository <username>/<repository> \
     -name kubernetes_cert -value "<base64-kubernetes-cert>"

⚡ drone secret add  \
     -repository <username>/<repository> \
     -name kubernetes_token -value "<kubernetes-token>"
I included Slack notification plugin, so you need to add one more secret:
⚡ drone secret add \
     -repository <username>/<repository> \
     -name slack_webhook -value "<slack-webhook-url>"
How the Plugin System Works?
Plugins are easy to write and they are basically the Docker image with the run script. You can even make plugins in bash. For a reference take a look at the plugin I created for this blog post drone-kubectl-helm. Environment variables in run.sh script prefixed with PLUGIN_ are the custom parameters. For example:
pipeline:
  kubectl:
    image: komljen/drone-kubectl-helm
    secrets: [ kubernetes_server, kubernetes_cert, kubernetes_token ]
    kubectl: "get nodes"
In this pipeline, kubectl parameter is available as environment variable PLUGIN_KUBECTL inside the container. Also, each secret key in secrets parameter is available as the uppercase environment variable. In the example above, KUBERNETES_SERVER, KUBERNETES_CERT and KUBERNETES_TOKEN are set in the container. Easy right?
Also, you can find a full list of embedded environment variables in official docs. This is useful when you want to tag your Docker images with commit ID or to get other information about the build.
Compared to Jenkins where you can write complex scripted pipeline, with Drone, all complexity can be part of one Docker image. This also means it is easily reusable.
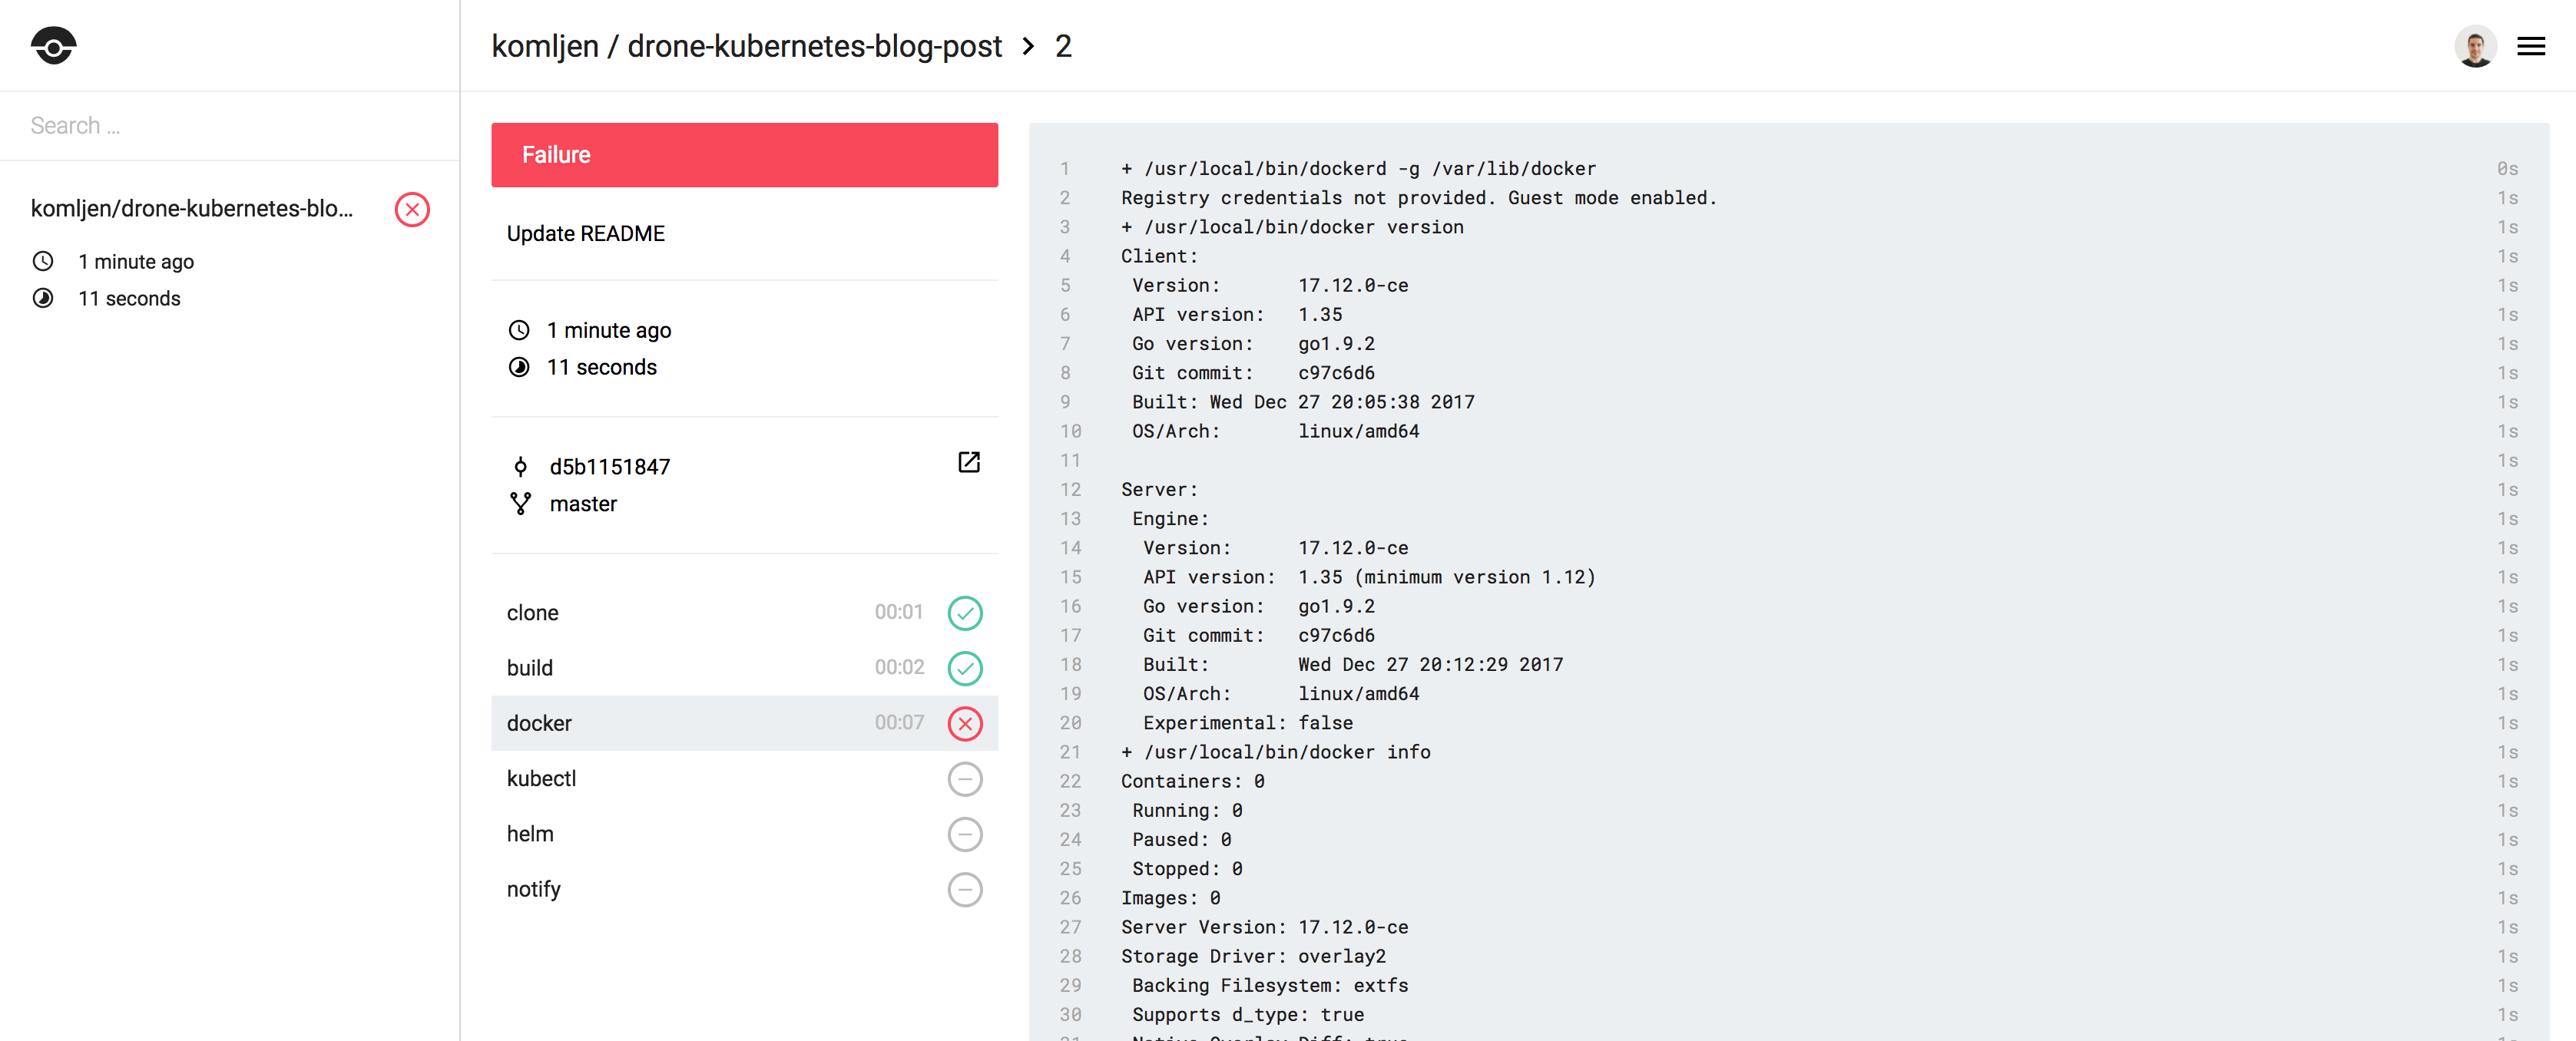
With defined Drone pipeline, every push to the repo will run the new job. I configured my username komljen as Drone admin. This means I can configure repository with extra features, like repository hooks. Some plugins need repository settings change to work. Those repository settings are available on web UI
https://<drone-server-url>/<username>/<repository>/settings. In the end, this is how one example run looks like. I like simplistic UI:
Summary
Compared to Jenkins pipeline Drone looks simple. And it is. But, not all features are available for free, and I can not imagine creating a pipeline for some complex project with Drone yet. Of course, you can do it, but with Jenkins and ability to use scripted pipelines, you have much more freedom. Huge downside for me was a poor Drone documentation. Let me know about your experience with Drone or Jenkins. Stay tuned for the next one.